Riveting
Temperature outside became summer-like: sunny and 16 degrees C. Seems like spring lasted only one week and now it is summer already. Too bad for the boat to be on hard still.
I gave epoxy 2 days to fully cure. After that I could back all M4 screws. It turned out that Farm on threads inhibited them from being permanently glued so with hammer whack they could be released. The cleanest was to remove them was to attach screwdriver from the outside and drive them out by unscrewing. This way the hole stayed nice and small. Unfortunately some screws buckled slightly after hammering so when they were driven out they enlarged the hole a bit.
As this is my first time riveting I run a couple training samples to determine what hole size and which technique to use.
The rule of thumb says that the hole should be slightly smaller that the nail, so that it can not be pushed by hand. My nails are 3.8 and 4.8 diameter. Trying drilling 3.5 and 4.5mm holes proved too tight in oak - nails were bending half-way in the hole. I guess the rule is for soft woods or I am not skilled enough to strike the nail perfectly spot-on. In the end I used 4mm and 5mm drills. Still it was far from easy to drive them home.
The risk with too big hole is that the rivet will leak water, at least for some time until the wood swells. We’ll see but for safety I will put some Farm onto their heads before I plug the holes with wooden plugs.
For the riveting it is said that the cut nail should receive 5 to 6 gentle blows to form the rivet. Too much hammering and too strong will make the copper hard and brittle. Well, I stopped counting after 15 knocks - they were gentle but many. In the end I was pleased with the training result so we could finally move to the real job.
To drive nails into new frames first I backed them with modified clamps, to avoid stressing epoxy joints too much.
In few cases nails have caused splinters on the exit hole so I drilled shallow countersinks to avoid that.
I found that the best method to drive cleanly these big nails was first position them in the hole with normal, carpenters hammer and then drive them home with heavy, 5kg hammer. This way I could strike the nail exactly parallel to its axis and there were no more bent nails to be backed from the hole.
Once this was done the engine room became a proper fakir bed.
So we started with Jim installing rivets: Jim was below the boat, holding heavy hammer to back rivet heads while I was pushing roves and then forming rivets inside the boat.
Unfortunately we needed to stop the work after one frame - my tools were not suited for the job: side pliers were too weak to cut 4.8mm copper nails. Tool for setting roves was too shallow to do that in one step, forcing me to cut short sticking nails, yielding the work very hard and long.
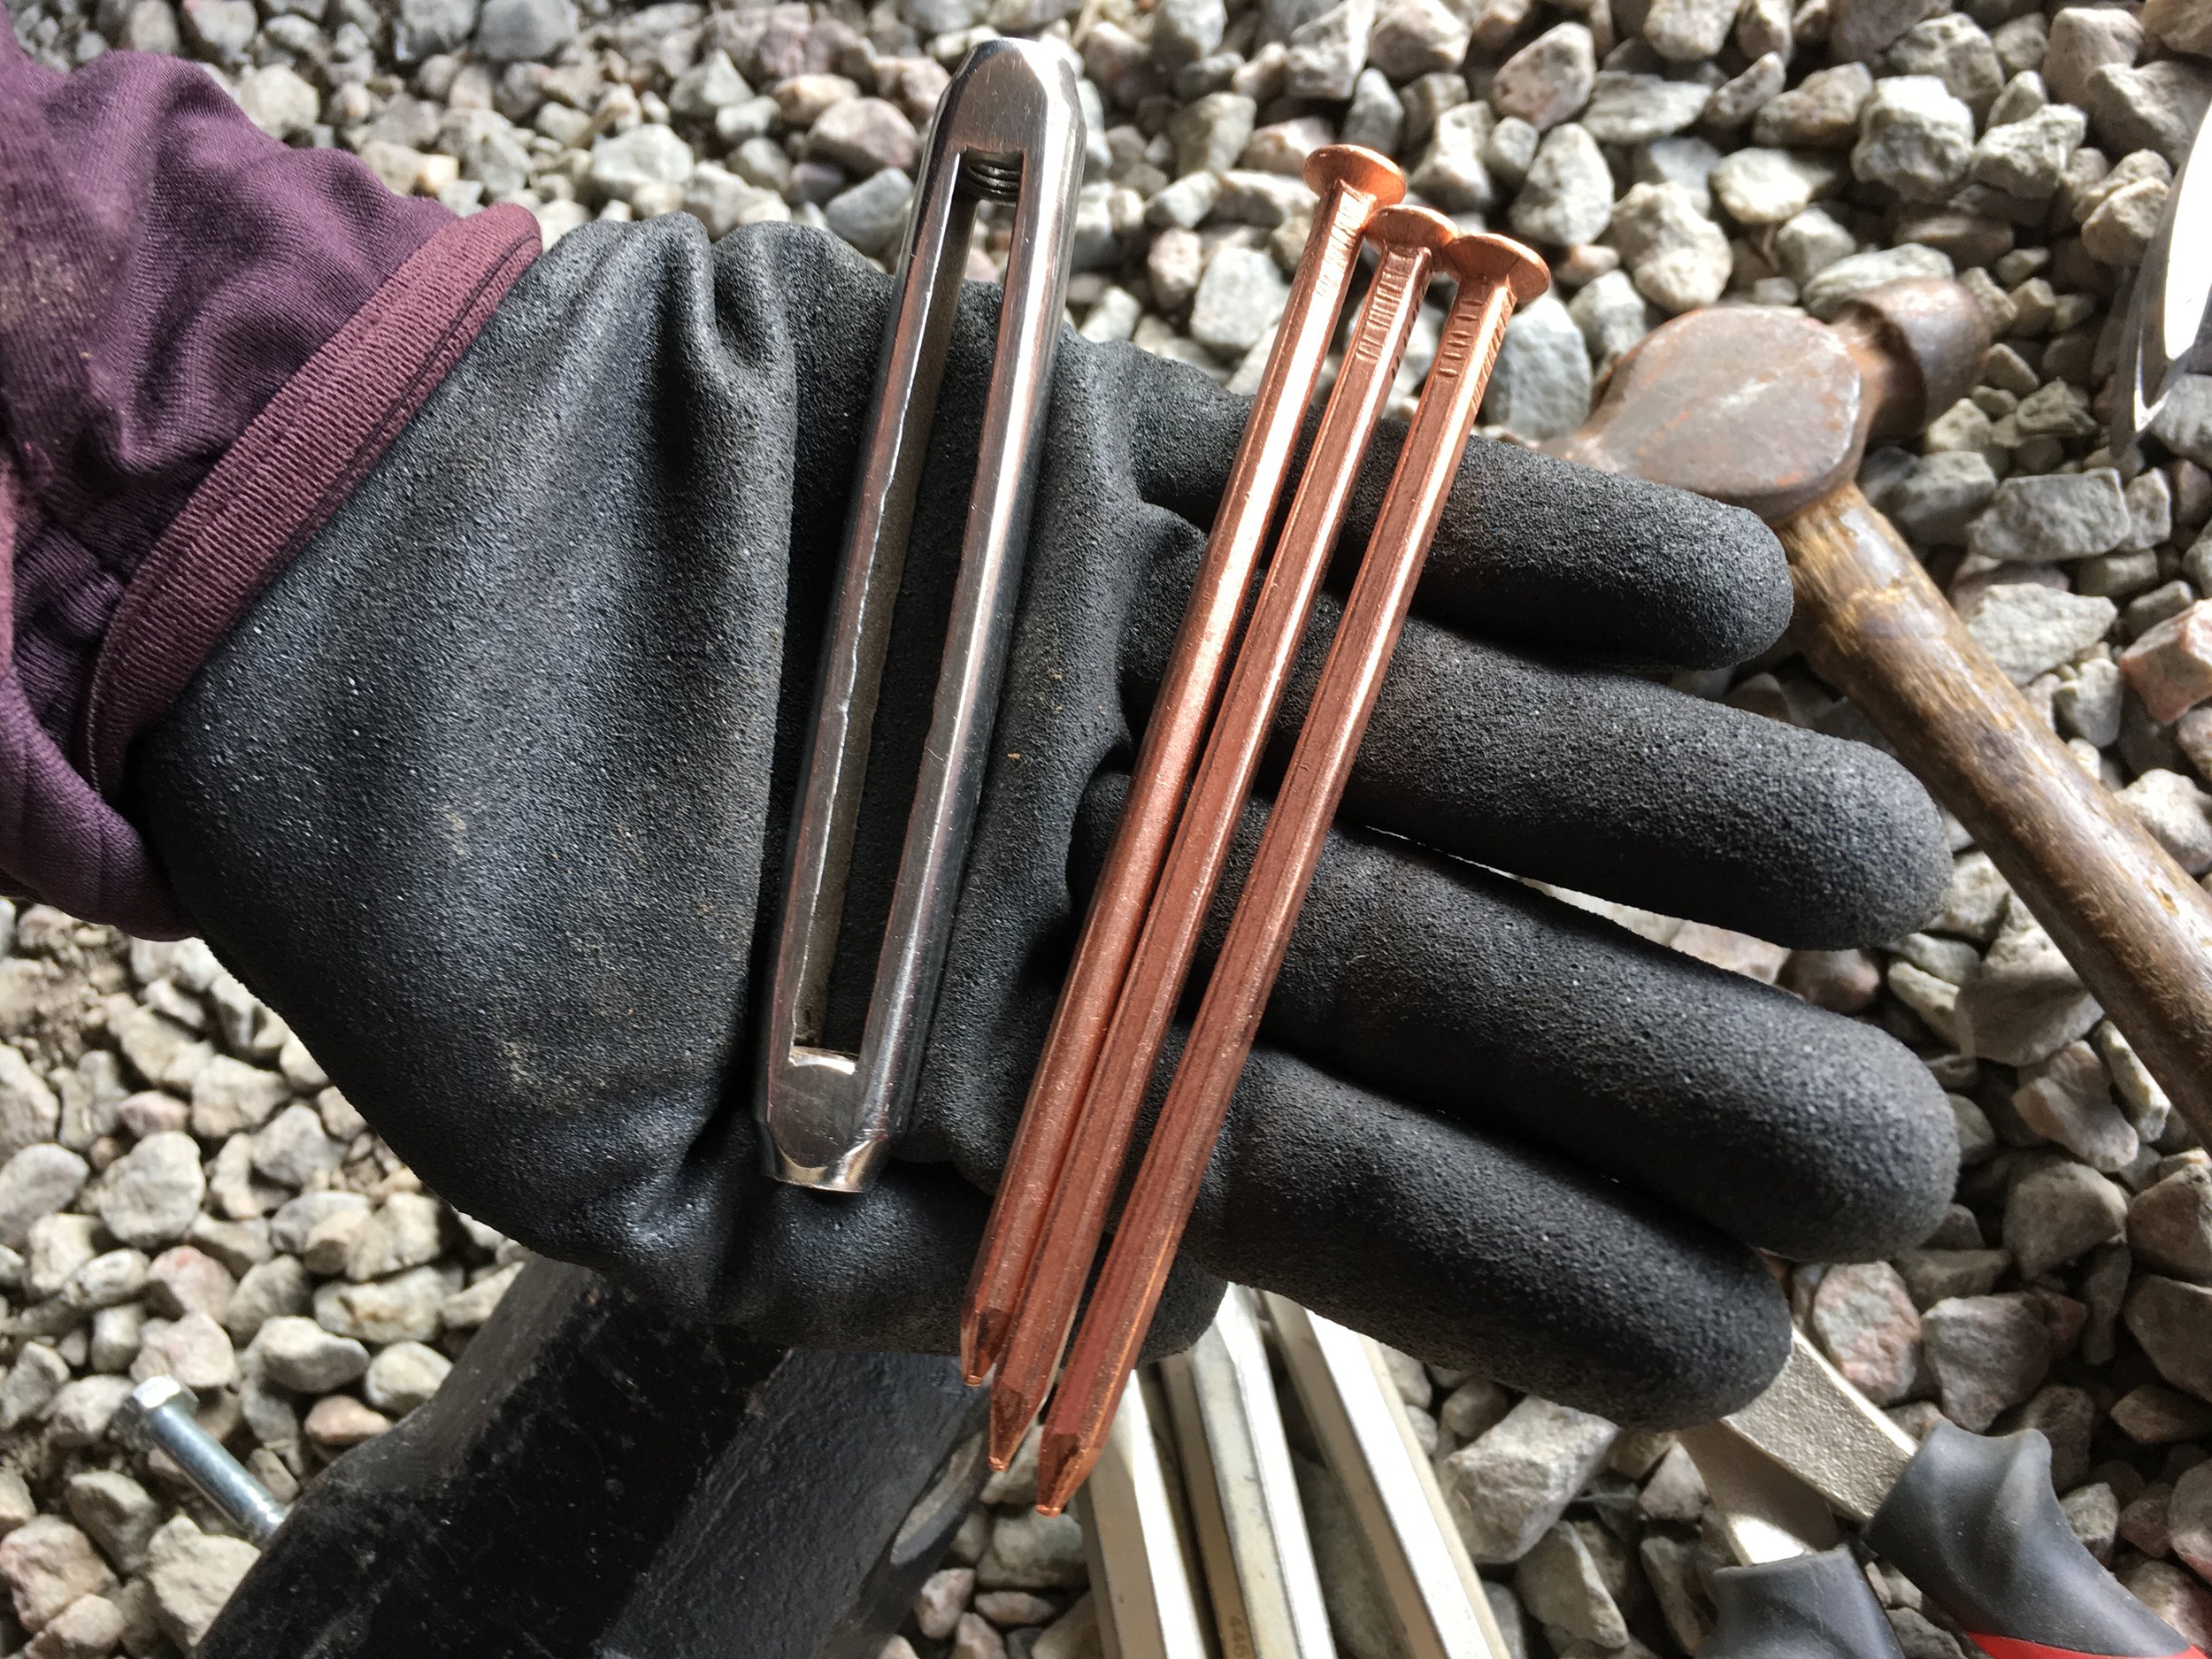
The day after I bought proper pliers and made rove-setting tool from old turnbuckle. It worked beautifully.
This time my wife and daughter were helpers: wife was backing nail heads from the outside, I was hammering the roves and forming rivets and my daughter was singing lauder than noise from my hammering.
At the end of the day all rivets were in place.
It was a hard job so meal was tasting good!
I made a tiny fire in a small metal can, enough to make sausages. Firewood - dry oak - sourced from offcuts in my workshop.
The next step is to clean the engine room and paint the bilge. Then instal engine beds and lift back my good-old Yanmar into the boat.


