Cockpit floor & broken frames - preparations
I’ve finished cleaning up old floor remainings - lots of dust and noise - so the milestone is reached. Now I can start re-building all structures with new wood.
I’ve removed starboard engine fundament - with some difficulties as it was screwed to the structure in unexpected way.
Took me a while to figure out why it doesn’t move while I’ve removed all the screws !?!
Well - there were 2 more!
They in fact look like bronze screws, in quite good condition but they were covered with thick bilge paint so I found them only by analysing structure movement: they formed pivot point to otherwise unscrewed engine fundament.
After cleaning out old bedding compound I gathered up all the wood remainings in the bilge, vacuumed the whole area and finally there came the time for measurements. During that I could inspect all parts of the cockpit structure, otherwise hidden under the floor. Unfortunately I’ve found one more weak place where wood was deteriorated.
No big deal - I’ve cut it out with excess wood on all sides. I’ll scarf and glue new wood there.
Having all measurements recorded I packed tools and went to my boatyard workshop to prepare wood stock for new floor structure.
Recently bought scrub plane made timber thicknessing a joy.
I’ve also installed adjustable blade-pig for holding timber while planing. That makes the work easier - low cost solution, proven for centuries!
I took advice from Richard, The English Woodworker: Tail Vice Alternative
It works so well that I can postpone building tail vice to my workbench.
Cockpit floor beams were made of solid oak on which plywood floor was glued and screwed. I’ve decided to make them from my old stock of pre-cut oak which I acquired long time ago.
I didn’t have any use for it as it has many knots and few lists have severe checking due to kiln drying. For this project they should make the deal. Each beam will be laminated from two lists. After cutting and fitting all joinery I will seal all components in epoxy so that they should last long without rot.
Then came a time to start working on thick, laminated frame - the one which is broken, close to floor timber #3. My way of doing it is to first take a shape of the frame - with wooden chain. Then transfer this shape (a negative) onto a piece of cardboard (a positive) and cut it out. After checking the cardboard template against the hull (close to the frame) I take the pattern to gluing jig and set up gluing stations.
In this case I could directly move to gluing jig since I’ve already made hull pattern in this point - it is floor timber #3.
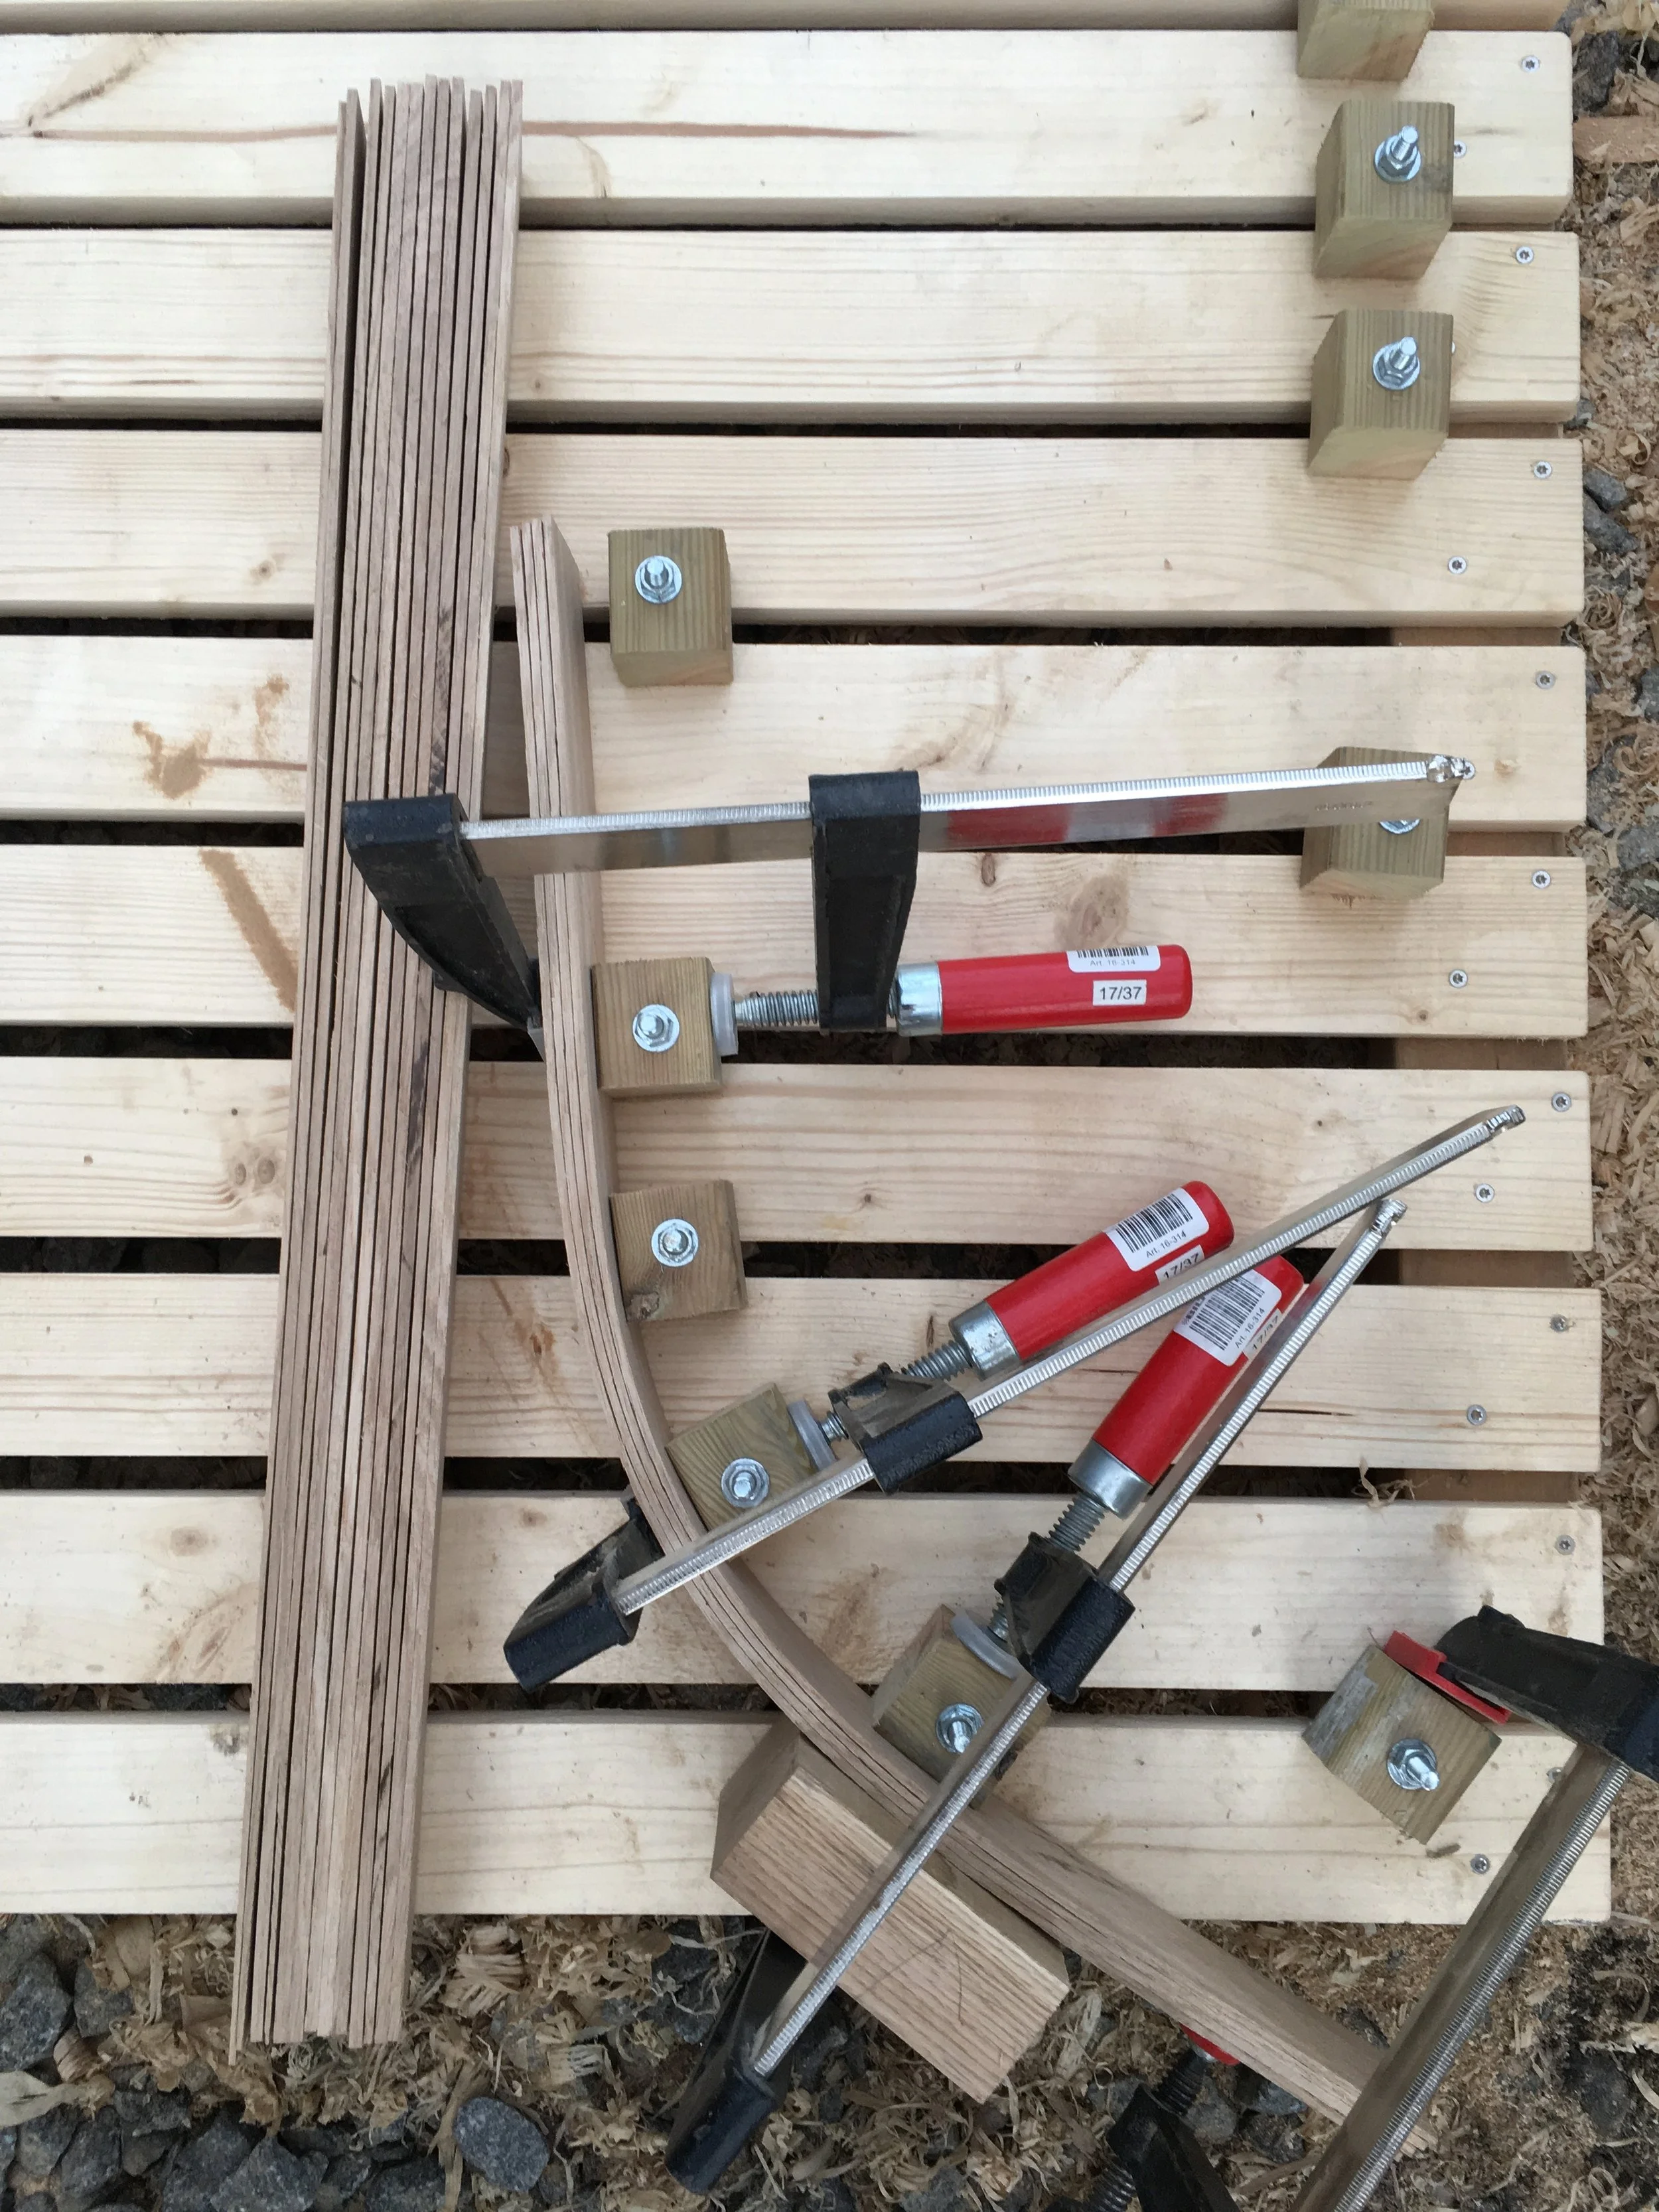
I clamped it onto gluing jig, marked the line and adjusted gluing stations to match the curve.
Then I moved on to prepare laminations for this curvature. Some experimentation on scrap oak proved that 5mm thick lists can bend onto this curve without breaking but the force to bend only one piece was substantial. I’ve moved down to 3 - 3.5mm thickness.
The frame has to be 45mm wide and 65mm thick. Very robust.
I’ve prepared quarter sawn wood with bigger dimensions as with gluing there may be some shifts or mistakes in alignment so having excess wood for final trim is a prudent procedure.
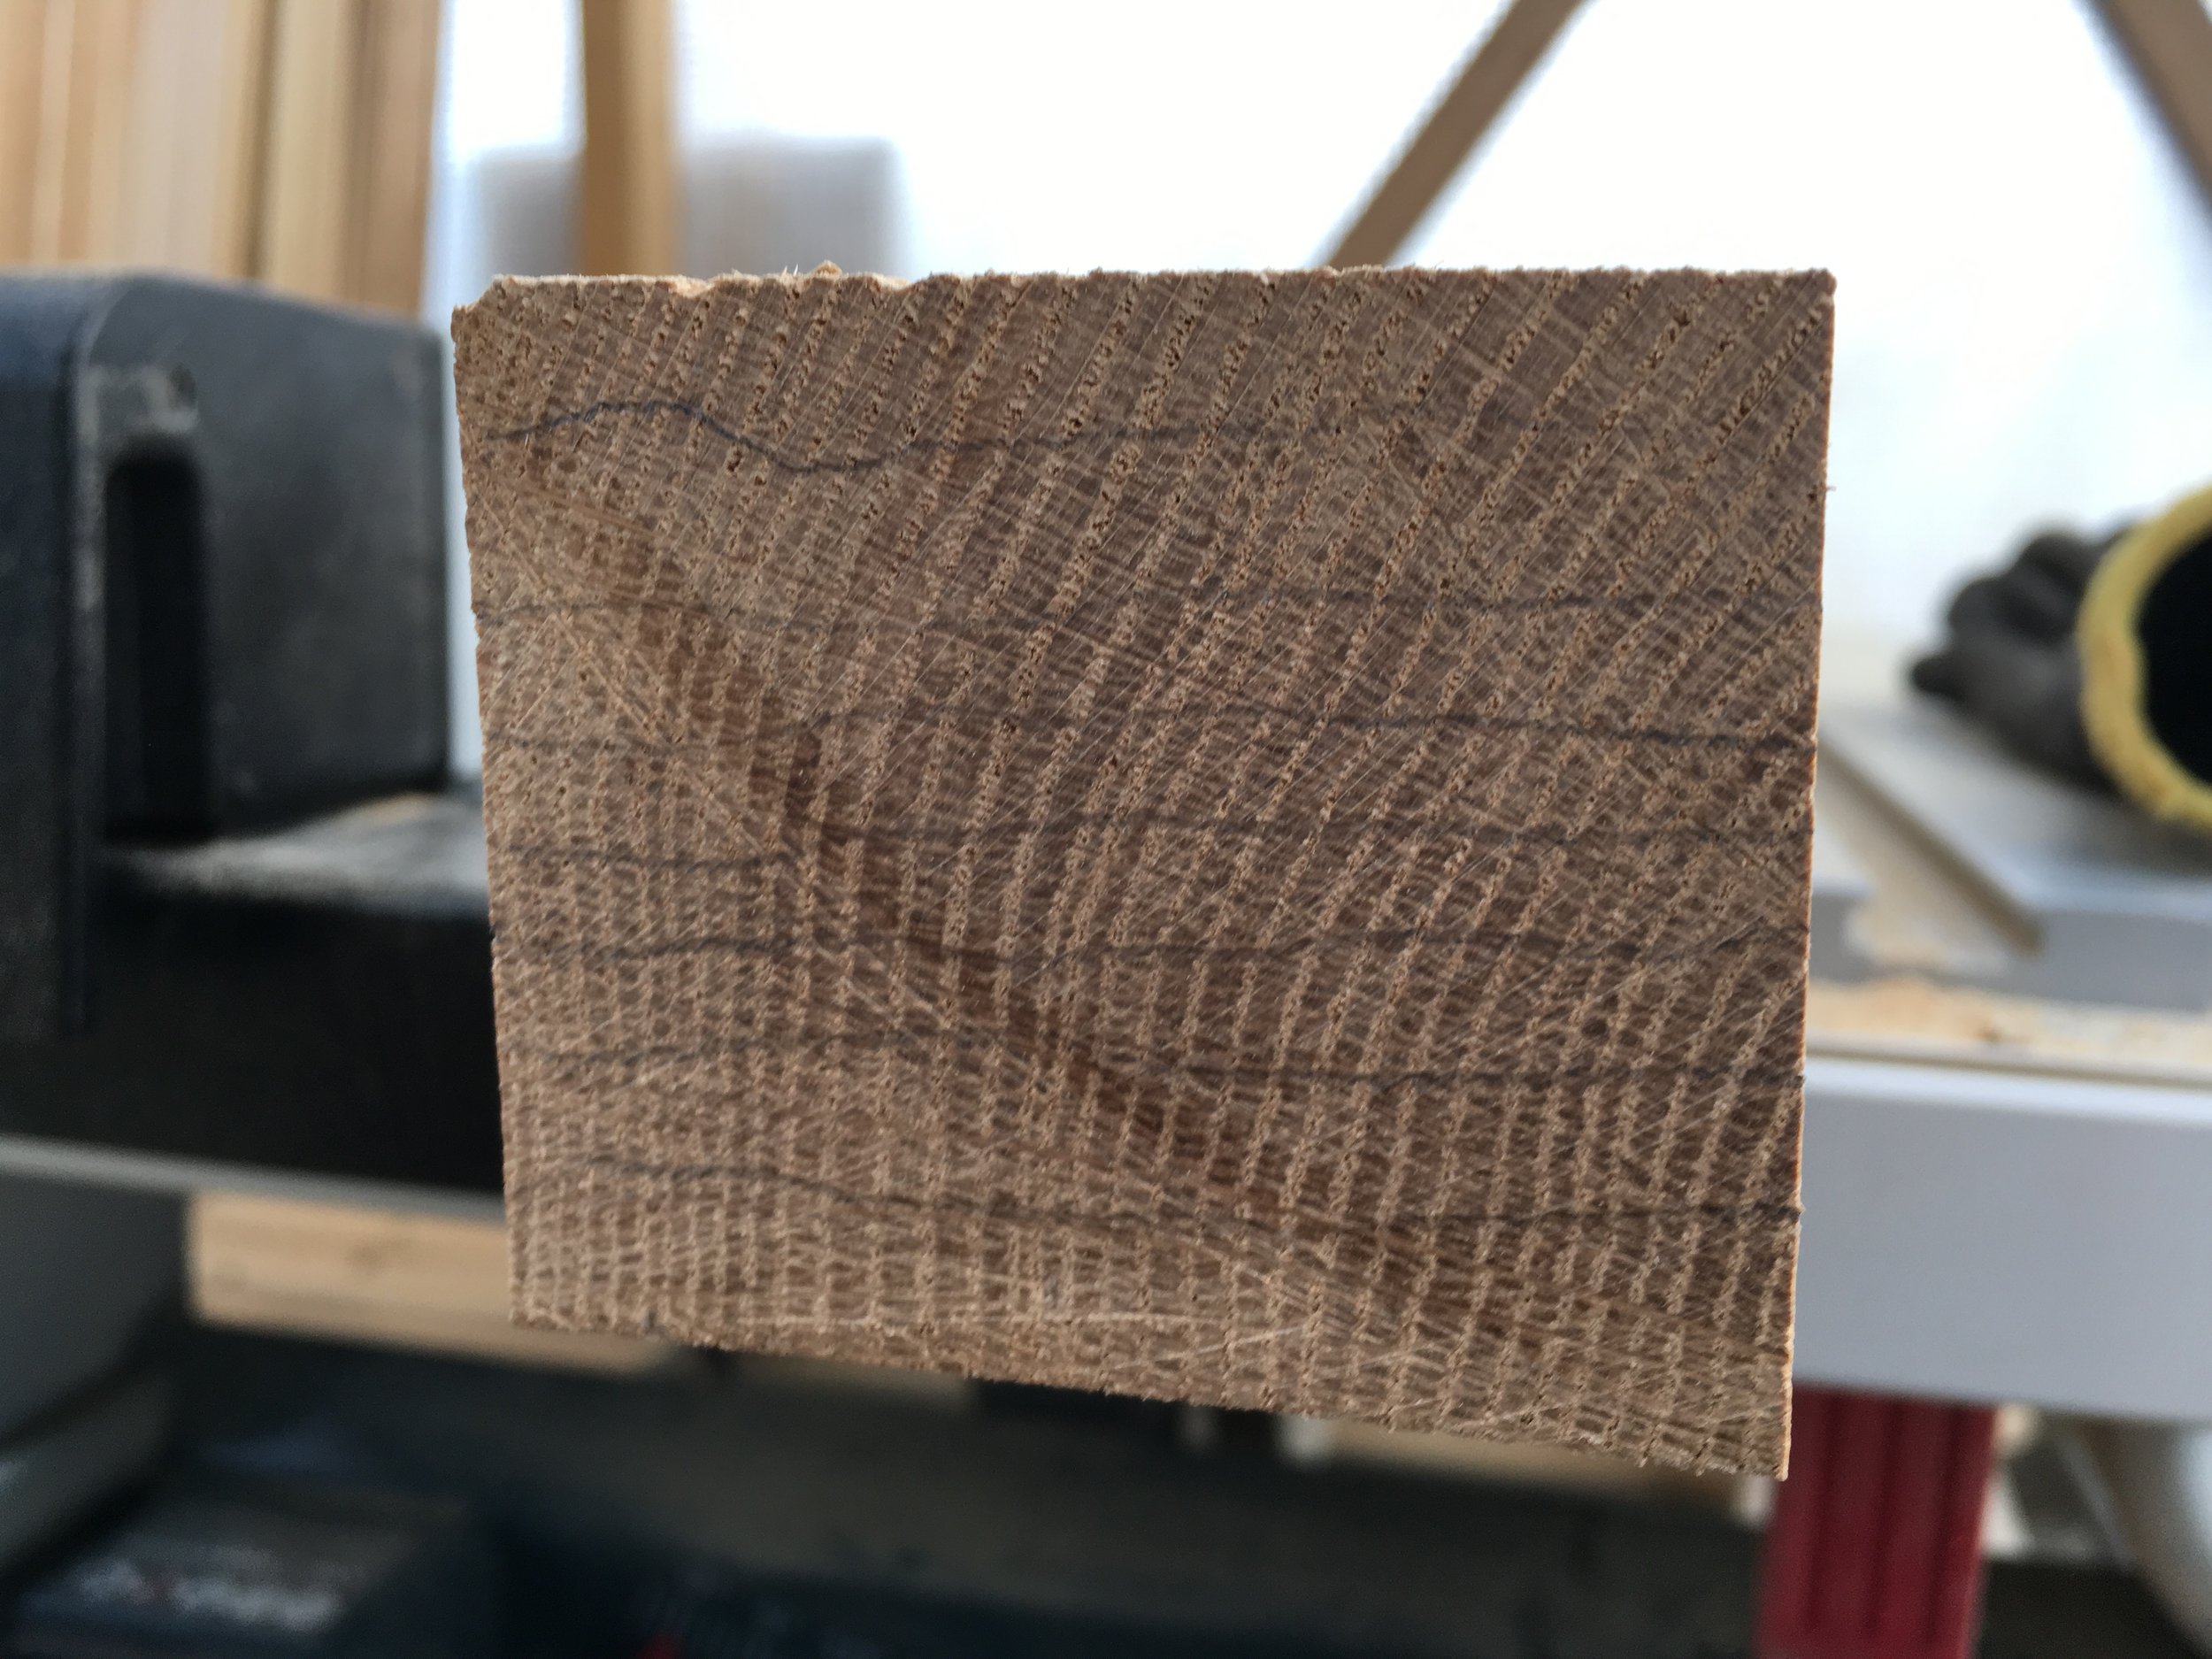
To avoid problems with wood splitting on rivetting the frame will be installed with annual rings athwartship and medullary rays along-ships. Even though in laminations this does not play so big role I follow that principle if I have such timber.
This way of making curved elements is quite expensive, as compared to steaming.
Not only it takes time to cut the lists and glue them back together. Epoxy - especially one formulated specifically for oak - is expensive. The job is messy and needs controlled temperature.
Most of all - a lot of wood is wasted!
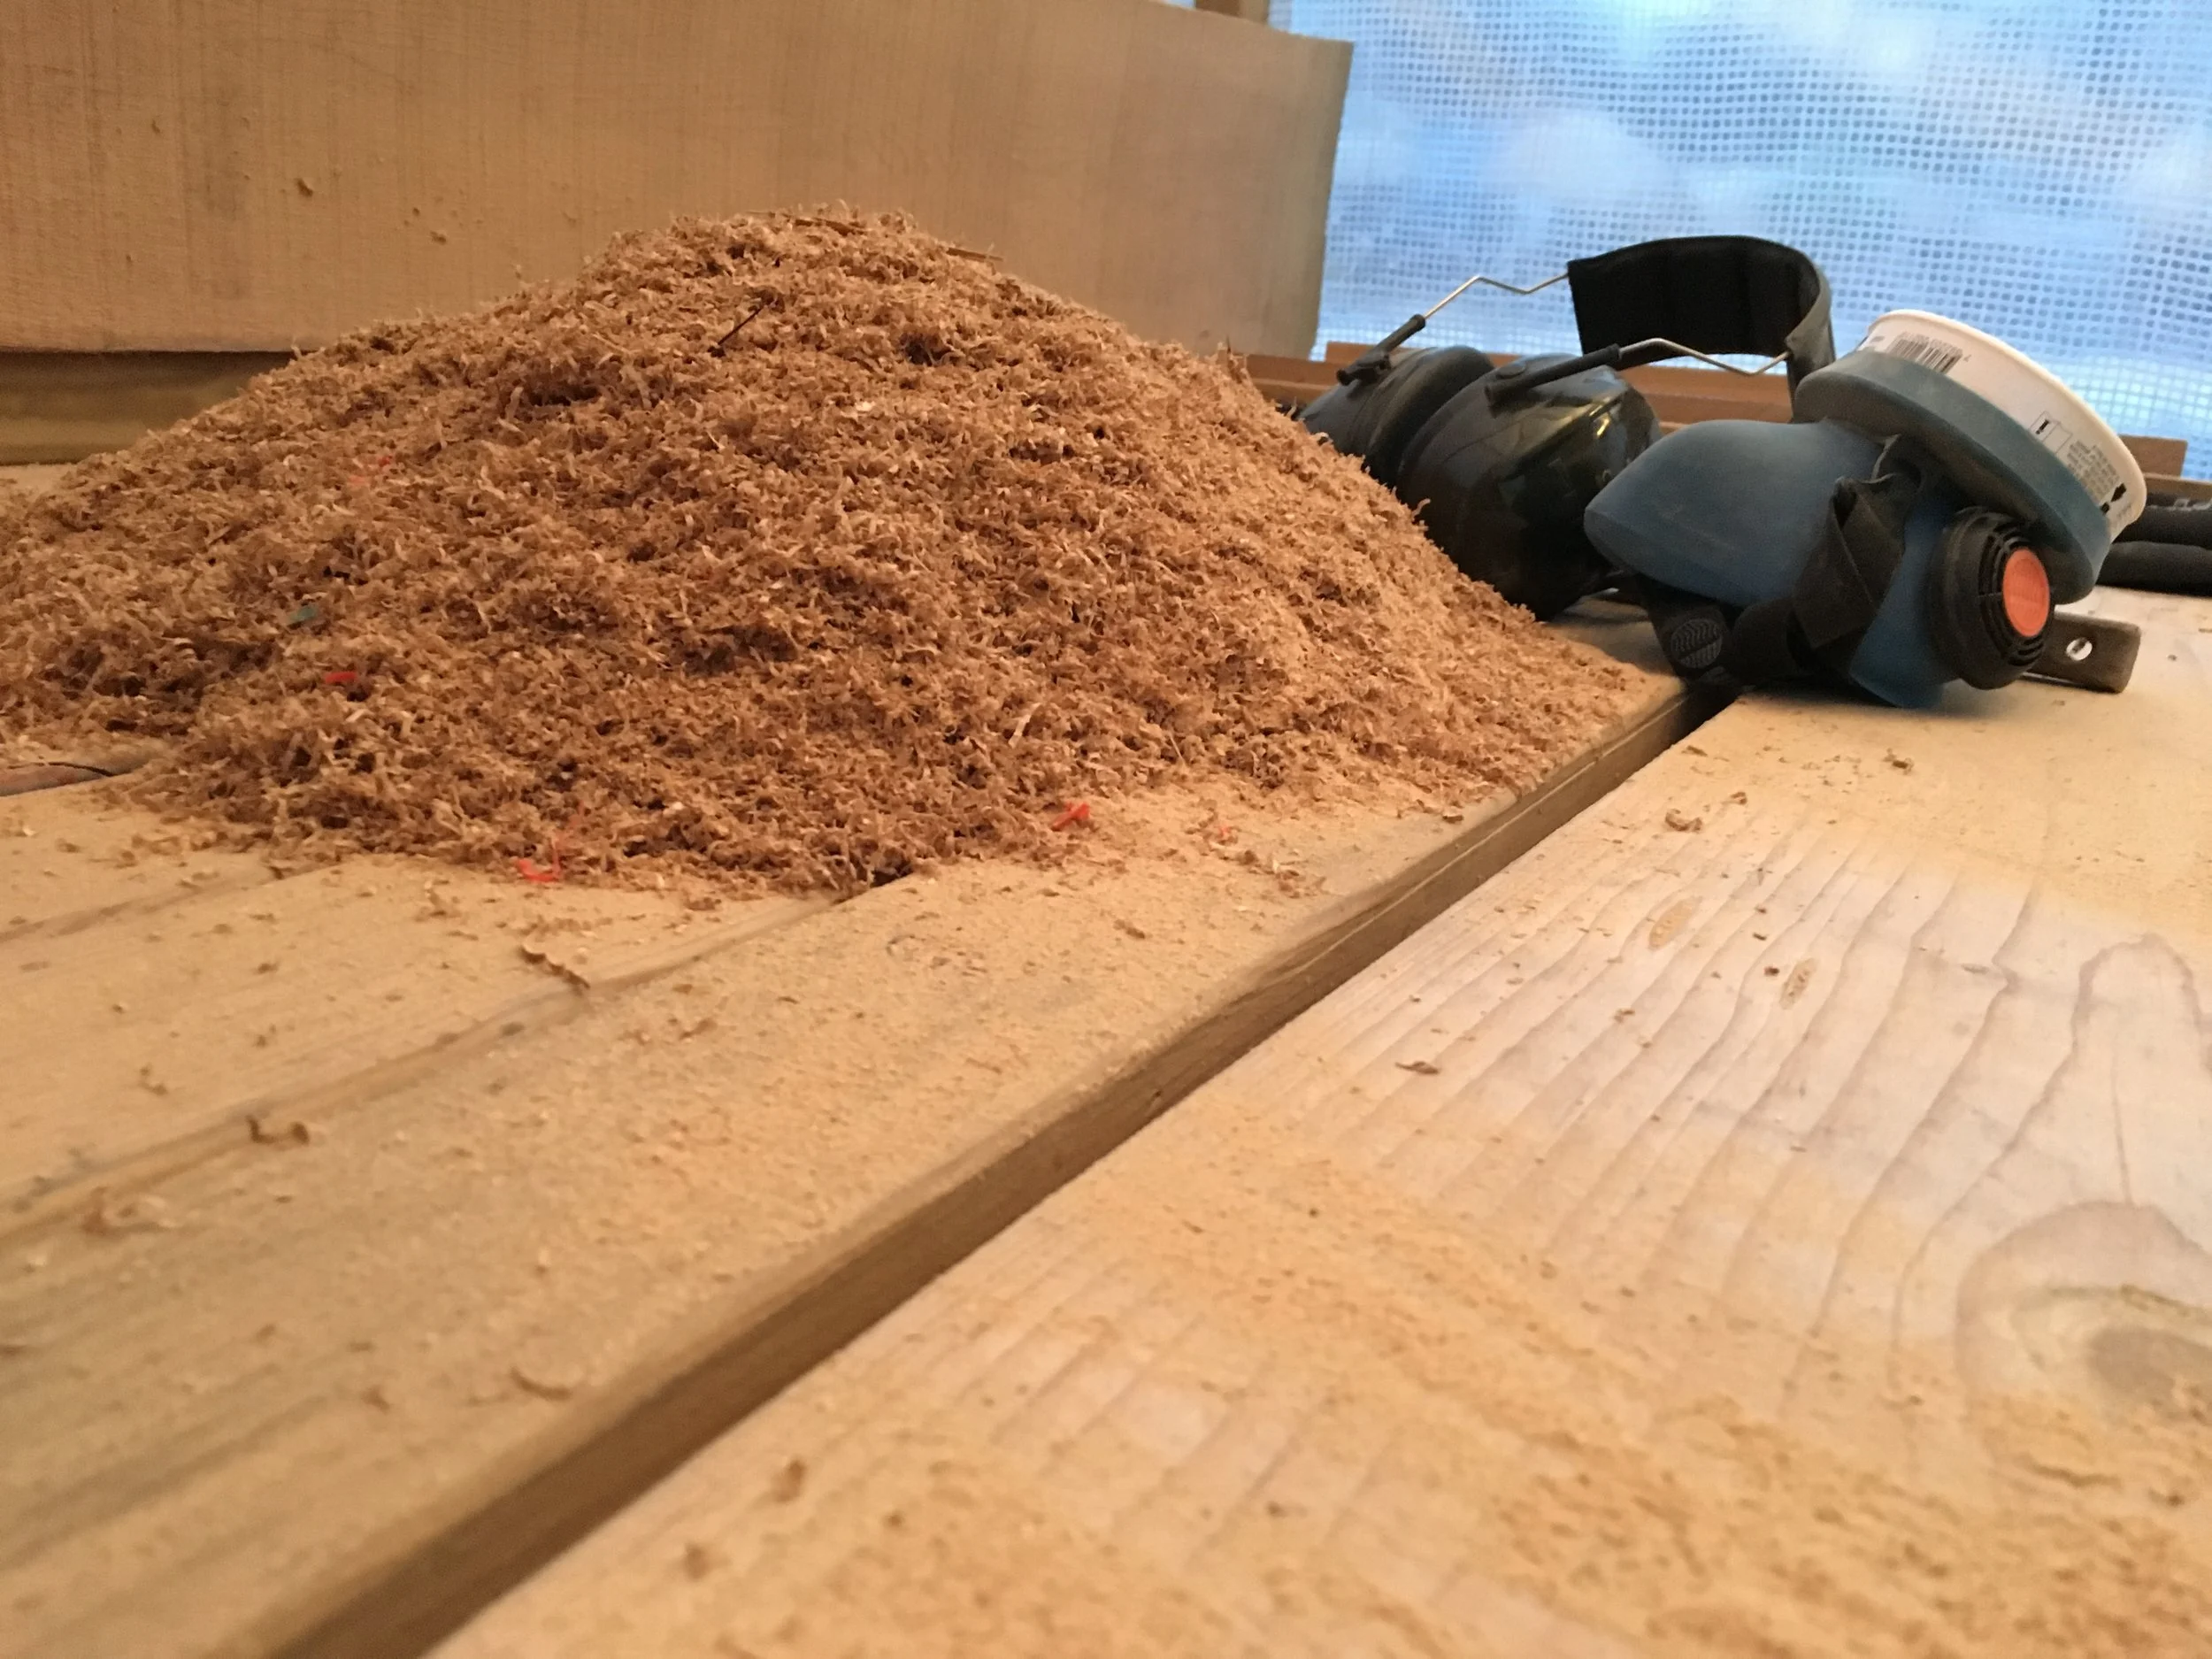
For each cut on my saw 5mm of wood is turned into dust. Comparing the pile of cut lists with a block not yet cut gives a clear picture of the waste: almost half thickness is gone.
So why do I use this method?
Well, for 2 reasons:
Firstly - my oak was dried, it is not “green” so even if steamed it will not bend like green lumber.
Secondly - on really tight curves steamed frames are weakened and eventually they brake of fatigue. This is exactly what happens on most boats, including Meritaten where she has circa 20 broken frames, all of them were steamed and all broke at the tightest curve in the bilge.
Moreover - this particular frame was built from laminations originally. Laminated frame is very stiff and as strong (or stronger) as grown crook.
Well, expensive it may be but: måste man så måste man.
After ripping out all lists there came a dry run on gluing jig.
It turned out that I can glue max 4 lists at one session: the force needed to bend the whole assembly at once would require using hydraulic jacks - but then, most probably, my gluing jig will fail.
It became also apparent that I need more leverage for closing the clamps. Screwing by hand proved to be difficult and with glue in the equation it will become a mess.
I’ve drilled few holes in wooden handles of my el-chipo clamps. This way I can use a screwdriver to gain more force on the threads.
The work for today was concluded with sanding all components with 80-grid paper, to prepare them for epoxy.
… and cleaning the big pile of wood dust from my workbench.
That is a big drawback of working with power tools - respiratory and hearing protection is a must in this job!


