CAD - Cardboard Aided Design. Patterns for Floor #3
There are a few methods to make a pattern of a compound shape: hot-glued sticks, spilling, chain pattern, shaped-stick pointer, scraps of cardboard etc. I use two of these - they compliment each other and are very quick.
First I use a wooden chain pattern to roughly determine the shape.
Chain lying on a cardboard batten - it works but it’s easier and more accurate to skip the batten at this stage.
Most often chain alone is accurate enough to give me the exact curvature.
Having the chain locked I can now move it to a piece of cardboard and use a batten to record the shape. For this case I used cardboard batten as it was at hand.
Drawing a curve along flexed batten gives the curvature of the hull piece I’m replicating.
Sometimes - due to chain pattern not properly aligned or not tighten enough - the recorded shape is not exact but then more precise method - spilling - can be employed.
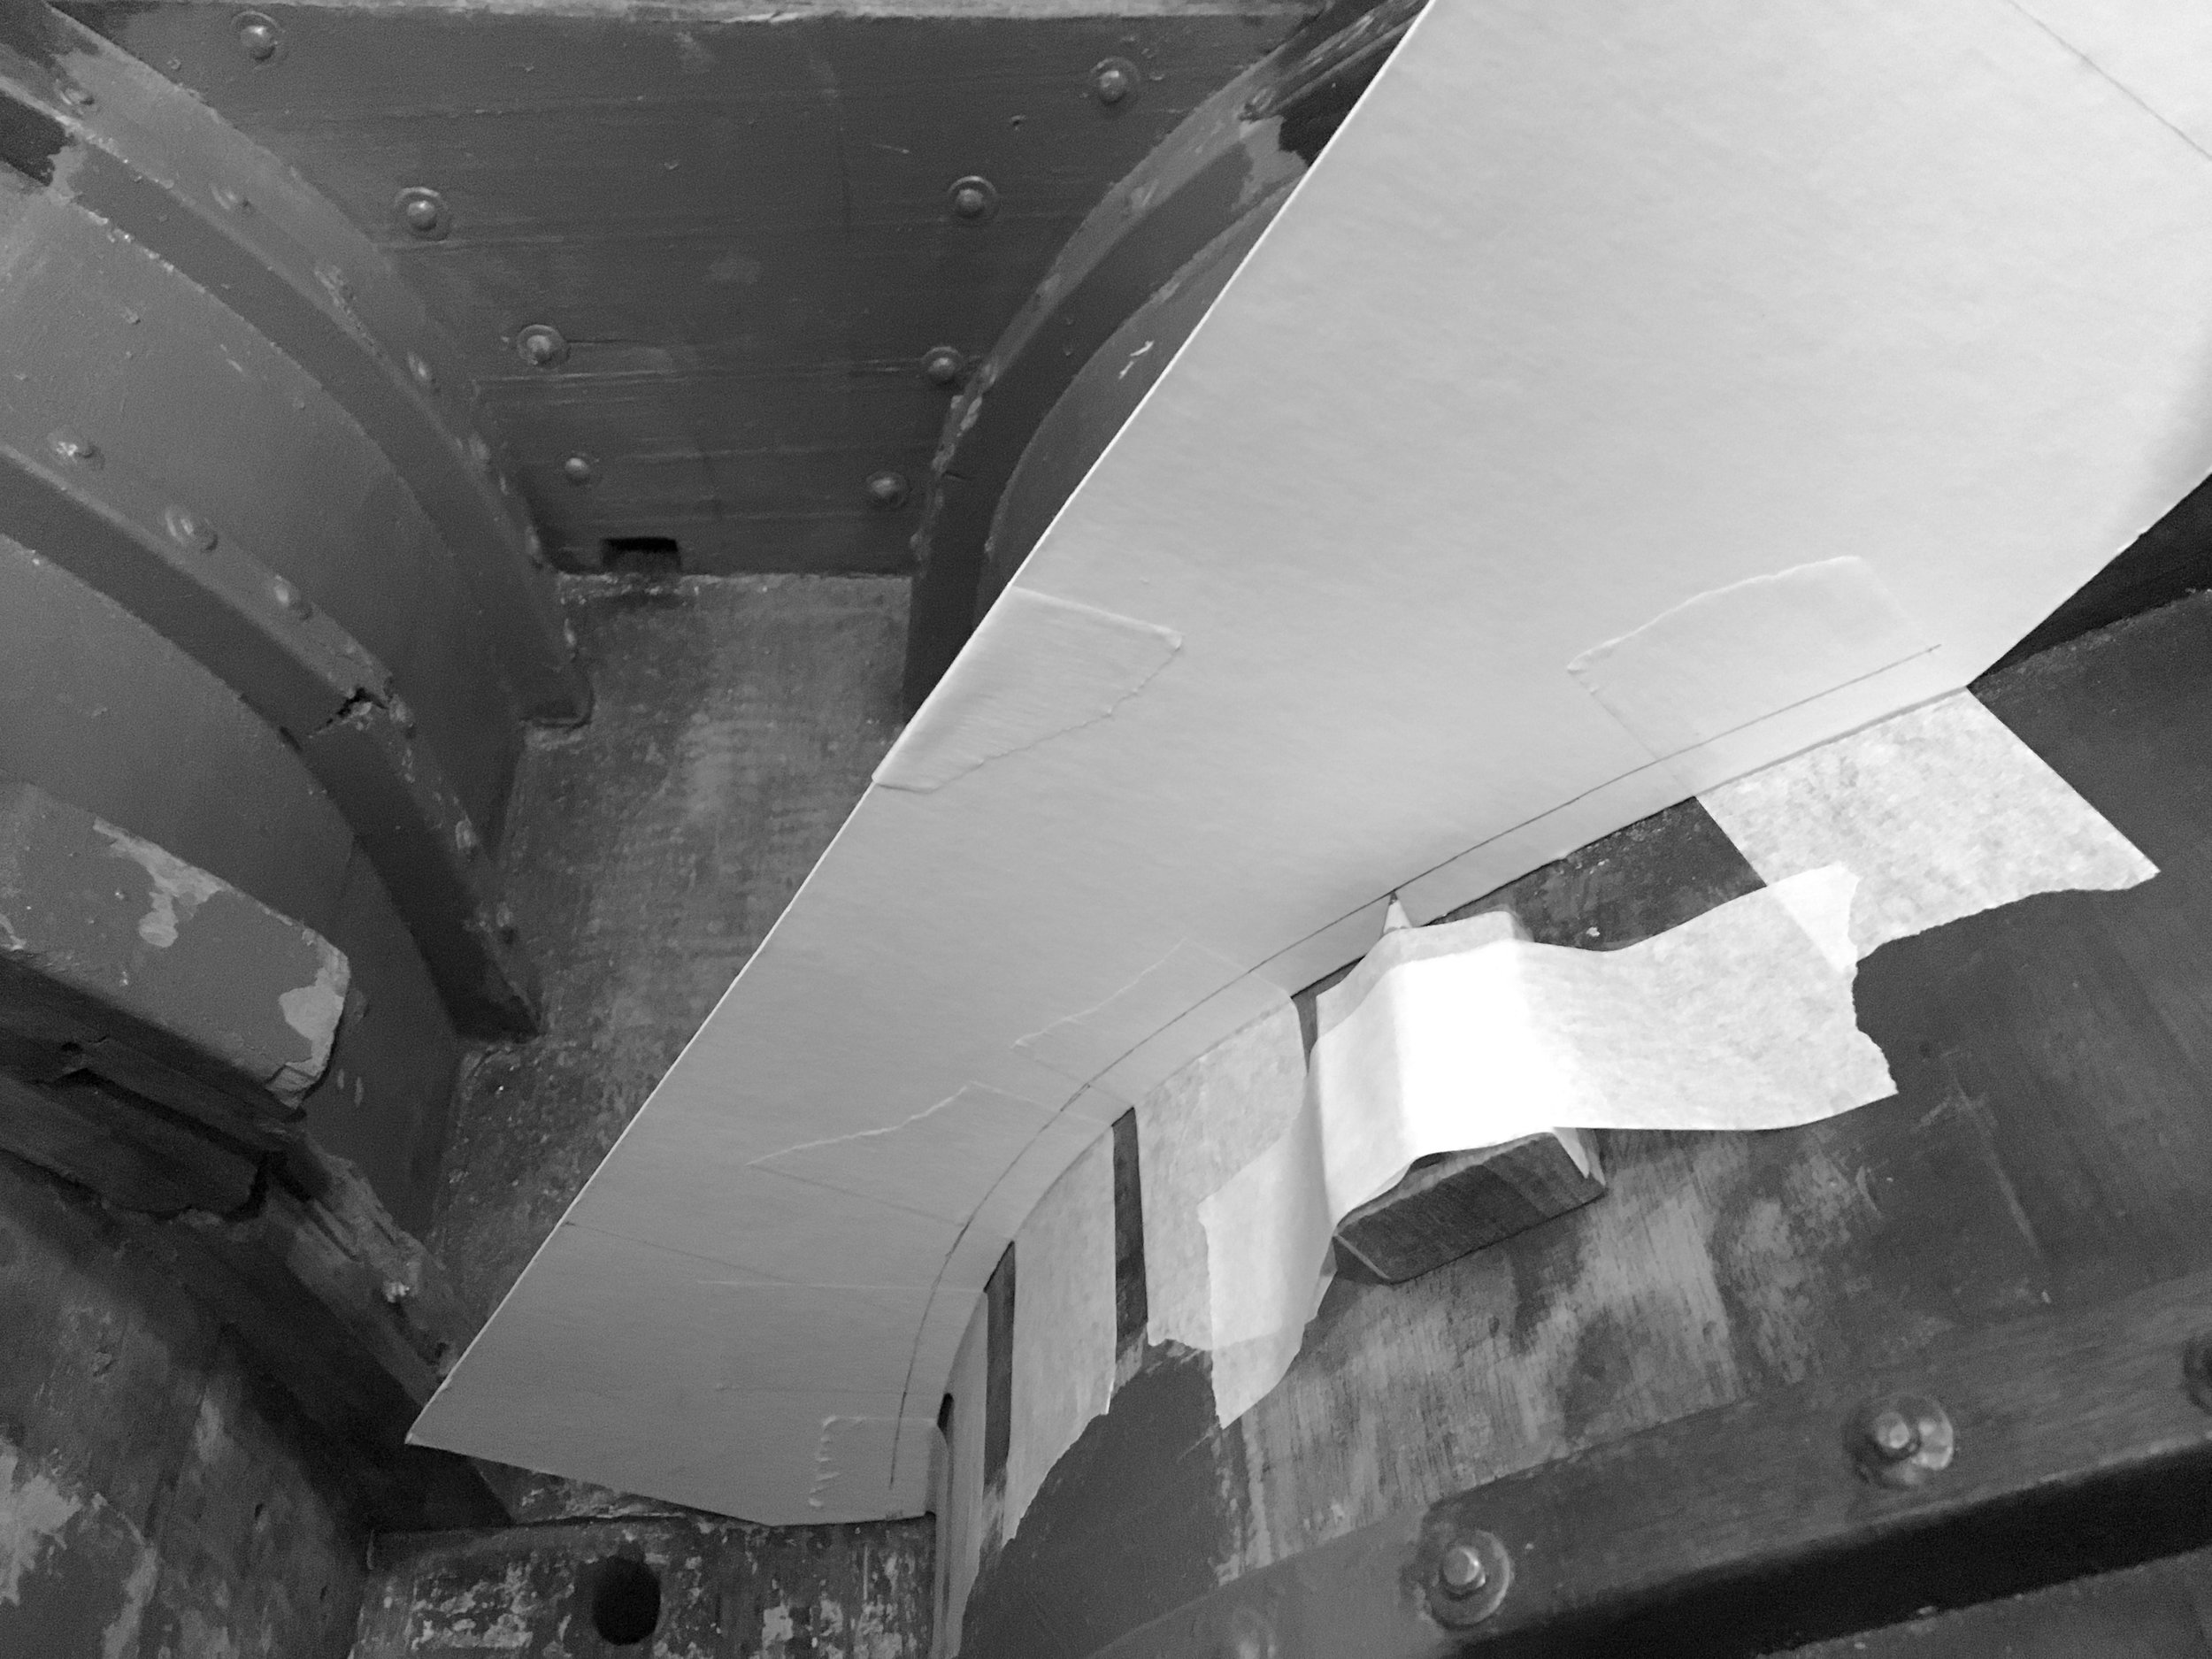
I use a short pencil attached to a wooden block with some tape. It is important to have a pencil in the middle of the block as it will pitch on the hull’s curvature.
Then - with steady hands and avoiding pitching and yawing - slide the pencil block along the curved surface, drawing its shape on the pattern.
Pencil on the wooden block. It’s good to wax the block to have smoother action against the hull’s curvature.
The resulting shape would be very accurate - most of the time. If not - paper-tape shims can be applied to fill-in the curvature and obtain tight fit. After all - it is easier to work with cardboard and scissors than with oak so time spent on making exact pattern is well invested.
For floor timber I need to make four such patterns - two per each face. Since boat hull is a complex shape one needs to record not only hull’s curvature on one face but also rolling bevel which results in different shape on the other side of the timber. For me the easiest is to make patterns for both faces, align them and record on the new piece of wood to be cut into shape. Bevels will then - hopefully - result automatically from smooth meeting of these faces.
Resulting initial patterns are then aligned and I mark the top of the new piece with long, straight edge.
I’ve decided to build this floor a little higher and have it wider. That will make it stronger ‘cause - as they say in Maine: nothing too strong ever broke.
The resulting final pattern is then cut in one-piece cardboard.
Front face of new floor timber, here with wooden pattern for keel bolt thru-hole.
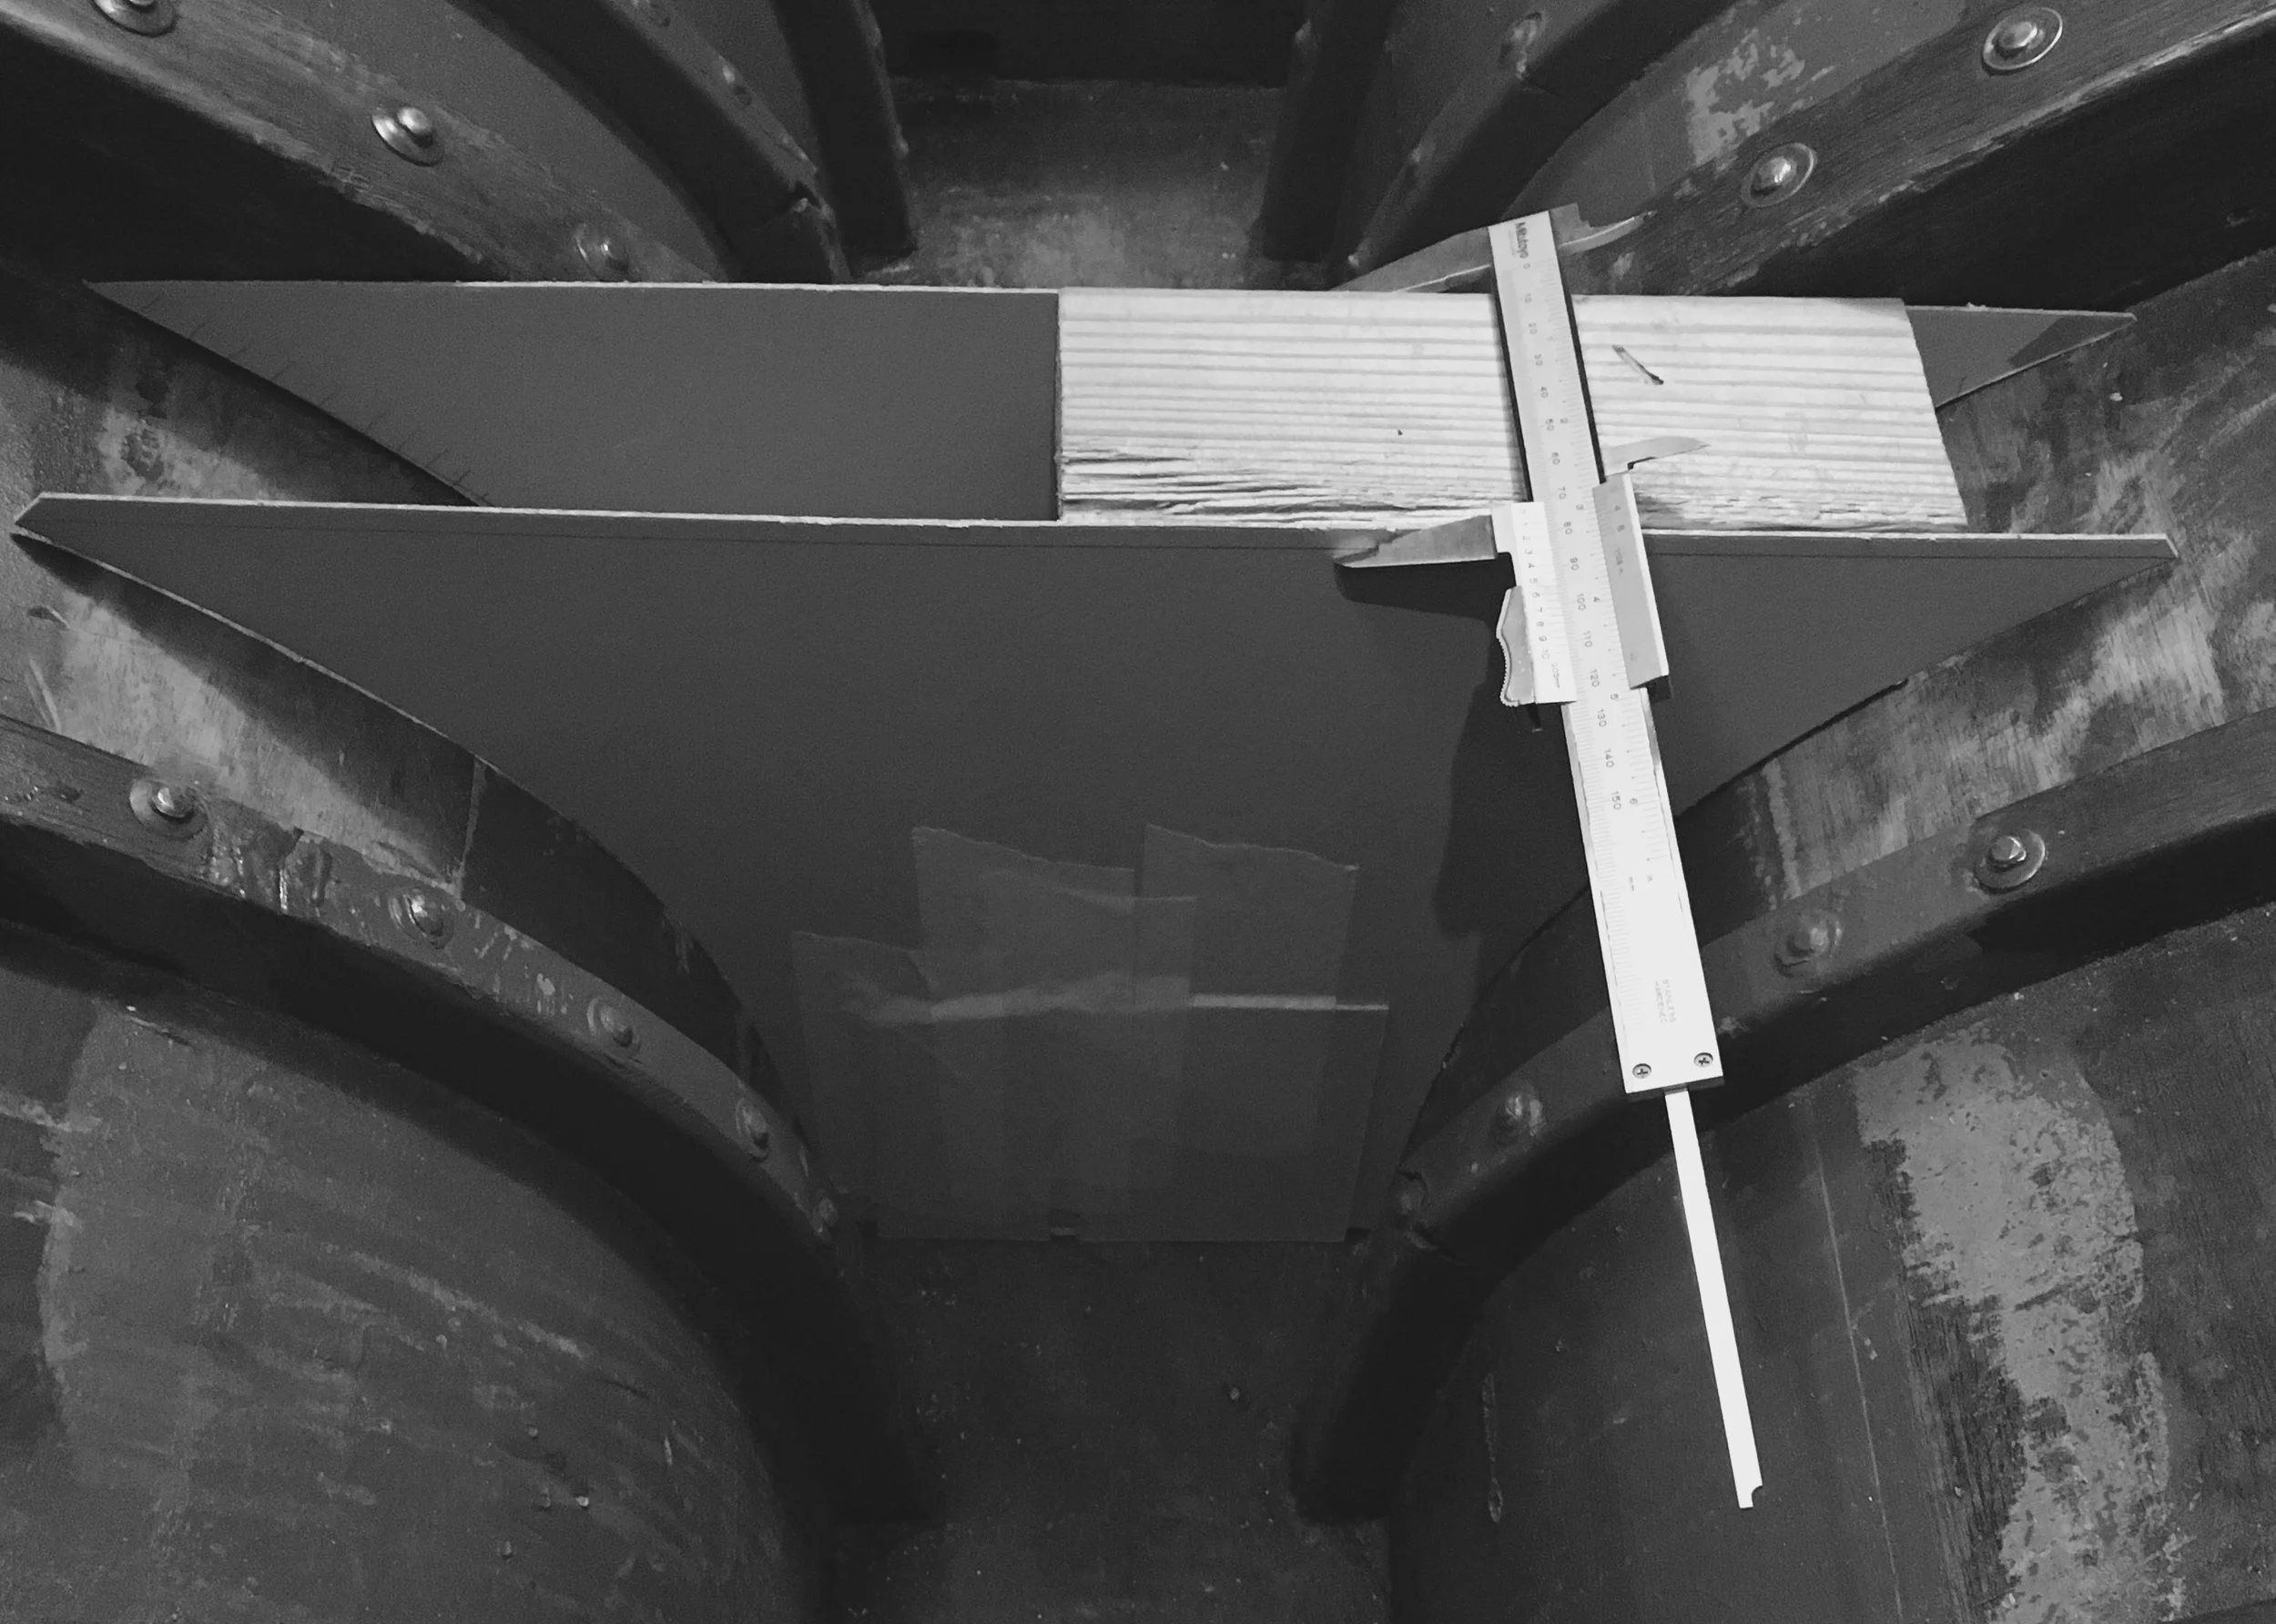
Now the same story for the second face. To have a proper alignment I’ve attached wooden blocks to have proper spacing of both faces.
Taking the shape of hull on the other side of new floor timber pattern
Luckily shapes taken with wooden chain were spot-on this time so I could quickly produce both starboard and port sides.
As I will make this timber higher than others I can no longer directly determine the height of this pattern so I go ahead and cut it with excess cardboard on top.
Now, since the front-face pattern is already dimensioned to higher timber I can use straight edge and water level to mark my back-face pattern.
Cut to size and voila! The new 3D pattern is almost ready.
The new floor timber will be 74mm thick, instead of ca 59mm as in old floor.


What is left still is to tweak a bit some parts of the pattern to get perfect fit to hull and to record their relative position. Wooden pattern position for keel bolt placement needs also to be recorded on one of these faces.
Once I have that I can begin milling my stock of oak!


